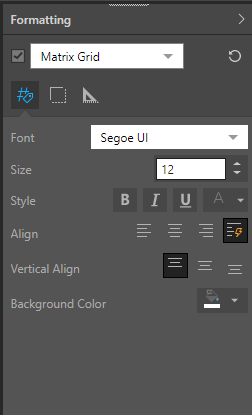
Formatting Panel
- Click here to learn more about unlinking content.
To apply formatting changes to a content item, select the item and unlink it. Once it's been unlinked, the Formatting panel (when expanded) will display the item's formatting options. Any formatting changes will be applied only to the selected unlinked item; other instances of the item (the original instance in Discover or Publish) will not be affected.

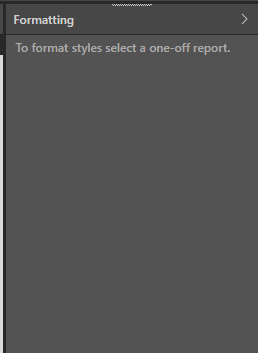
If the selected content item has not been unlinked, the Formatting panel will display the following message: "To format styles select a one-off report." This means that you need to unlink the item to be able to change its formatting.

Formatting Selection Tool
The formatting selection tool is used to drive the formatting options displayed in the formatting panel. Rather than manually selecting the required item from the panel drop-down and tabs, you can simply click the relevant component of the content item you want to format. The relevant formatting options will be displayed in the panel.
Enable the formatting selection tool from the canvas menu.

Select the element within the content item that you want to apply formatting changes to; its formatting options will be exposed in the formatting panel.
You can click any element on the content item, whether it be a legend, slicer, axis, title, the visualization, or the visualization's cells/ columns etc. Elements that you select will be displayed with a dashed blue border. In this example, the legend was selected from the visual, and the Formatting panel thus dynamically presented the formatting options for the legend:

Any content items that are not unlinked will be displayed with a red border.

Applying Formatting Changes
The formatting panel is available in Discover, Present, and Publish. In all modules, the panel exposes the same formatting options. For details about applying various formatting changes to different visualizations, review the documentation in the Discover section here.